This is a recipe I came up with by taking a look at what was left in the fridge and pantry! Both the carrots and cauliflower were left from a curry recipe earlier in the week, and I wanted to finish them off -- they turned out to be a great combination! The cauliflower added body to the soup, while the carrots added a great orange color. If you plan ahead and roast the cauliflower earlier in the week (I threw it in the oven while my curry was cooking), this soup is super simple to pull together - even if you add in the roasting step, it will still be pretty easy. Aleppo pepper and smoked paprika add that perfect element of smoke and heat that keeps a pureed soup from being too boring. I topped my soup with Parmesan, but nuts, seeds, or croutons would also be really tasty. I popped these fluffy dinner rolls in the oven before starting the soup and the timing was perfect -- together, they made a tasty, light dinner.
Note: if you skip the cheese and sub veggie or mushroom broth for the chicken broth, this soup can easily be made vegan!

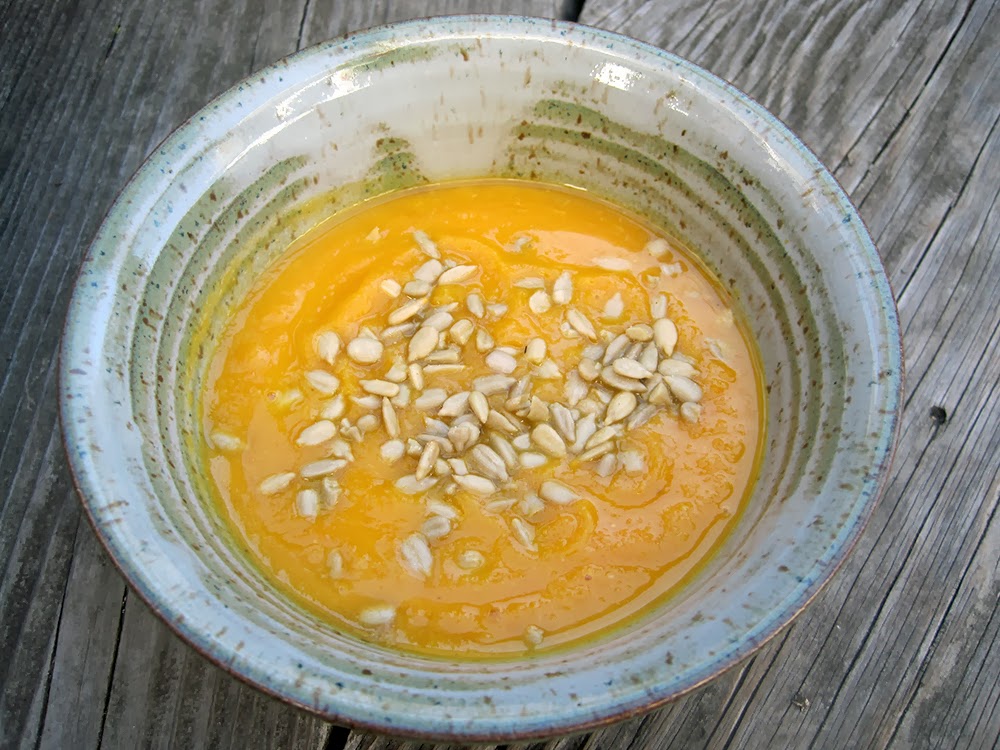
Roasted Cauliflower-Carrot Soup
Serves 4
1 medium head cauliflower, cut into florets
Oil
Salt and pepper
1/2 medium yellow onion, peeled and chopped
3 large carrots, peeled and chopped
1/2 tsp Aleppo pepper flakes
1/2 tsp smoked paprika
4 cups chicken broth
Grated Parmesan cheese, to serve
1. Preheat the oven to 400 degrees and line a baking sheet with foil.
2. Toss the cauliflower with oil, and season with salt and pepper. Spread out in an even layer on the baking sheet. Roast until browned and tender, stirring once, about 15-20 minutes total (check often to make sure the cauliflower does not burn).
3. Heat more oil in a soup pot over medium heat. Add the onions and cook for about 5 minutes, until starting to soften. Add the carrots, and continue to cook, stirring occasionally, for another 5 minutes or so. Add the Aleppo and smoked paprika and stir for one more minute.
4. Add the chicken broth and the roasted cauliflower. Bring to a boil, and simmer for 15 minutes or so until everything is nicely tender.
5. Puree the soup until super smooth with an immersion blender.
6. Serve topped with grated Parmesan cheese.


.jpg)